Summary
- Understanding HEIC format: Apple’s compressed image format saves storage, retains quality, but lacks universal compatibility.
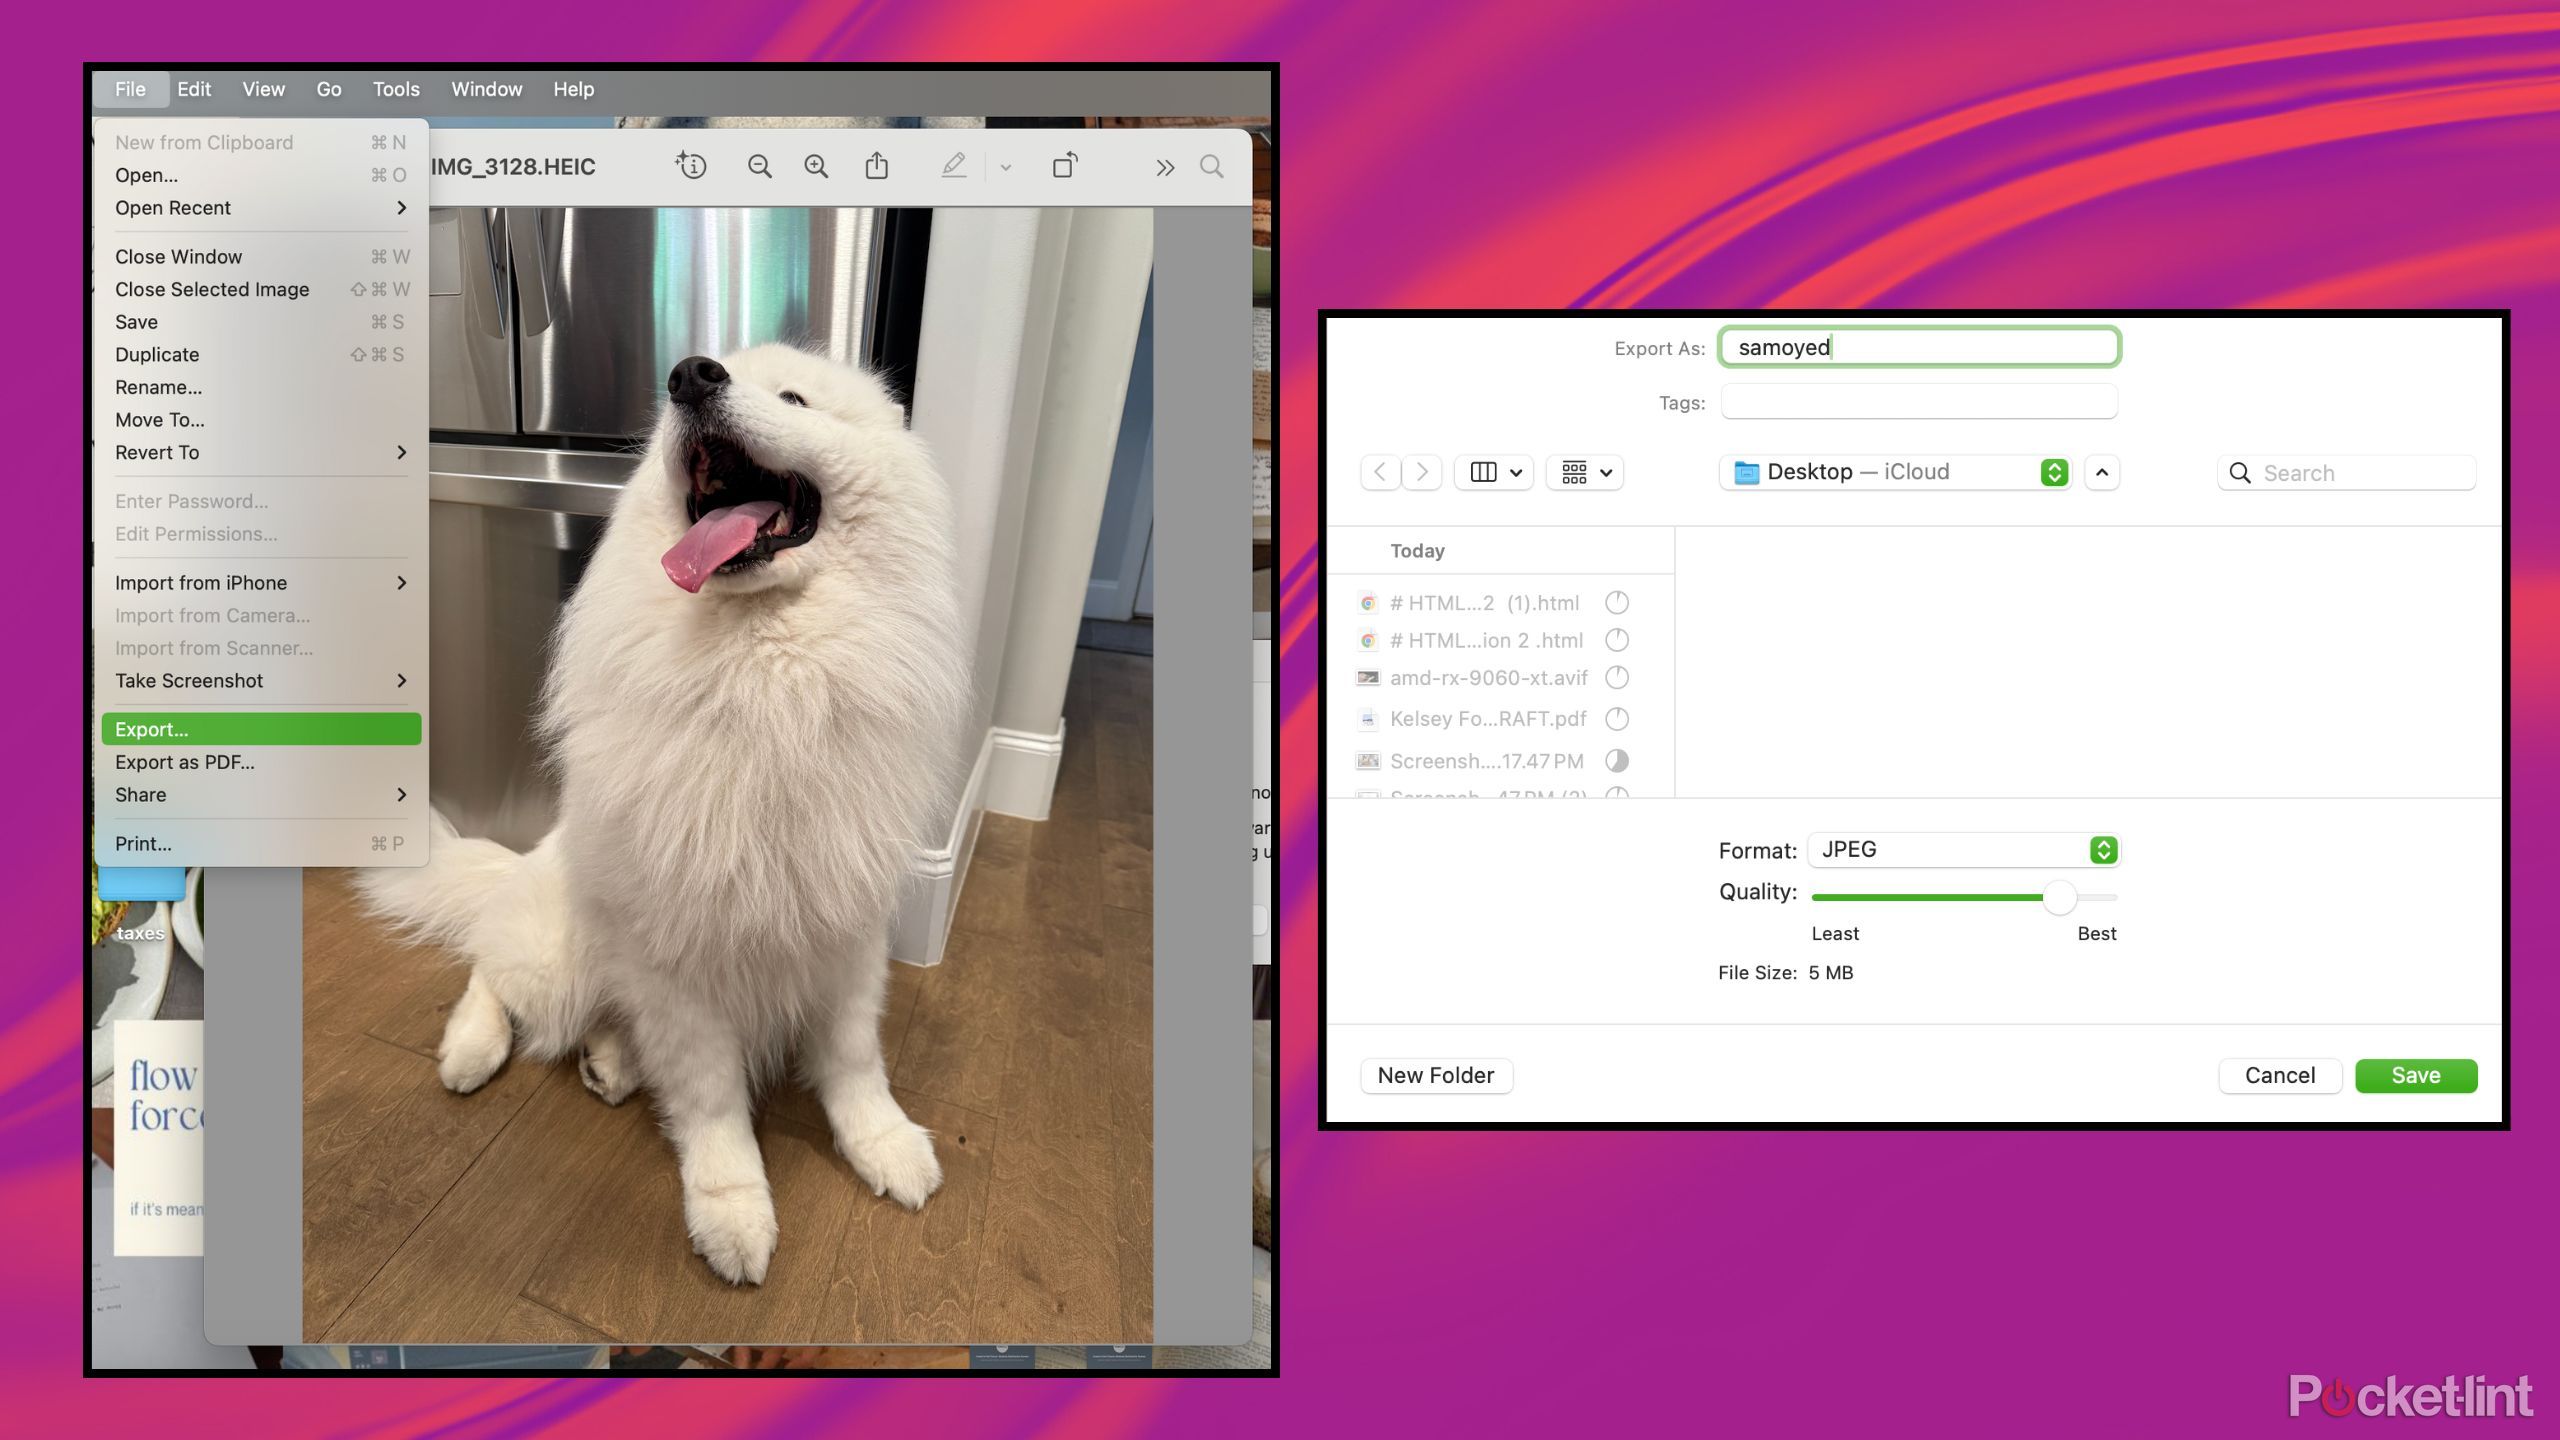
- Converting hassle-free: Use Preview on MacBook to convert HEIC to JPEG easily by opening, exporting, and saving.
- Make iPhone save as JPEG: Adjust Camera settings to save photos to JPEG format instead of HEIC, albeit with more storage usage.
As a freelance social media manager, I’m two things: a
Canva
Queen, and a professional drag-and-dropper. I receive thousands of images a month from clients and influencers who document every bit of their lives (and businesses) on their trusty pocket-computer — which is often an iPhone. If you’ve ever found yourself moving photos from your
iPhone
to your Mac computer, you know the issue I often run into: the dreaded HEIC format.
Luckily, after years of putting up with the least likable format out there, I’ve discovered workarounds that completely streamlined my workflow and made the drag-and-drop game a little less tedious. But what is the HEIC format, why does Apple use it, and how can you nip the file in the bud before you even hit
AirDrop
?
Related
Manifesting, but make it digital: how I build vision boards with just two apps
Forget glue sticks — this is how I create the ultimate vision board on my computer every year.
What is .HEIC format?
Apple’s favorite file
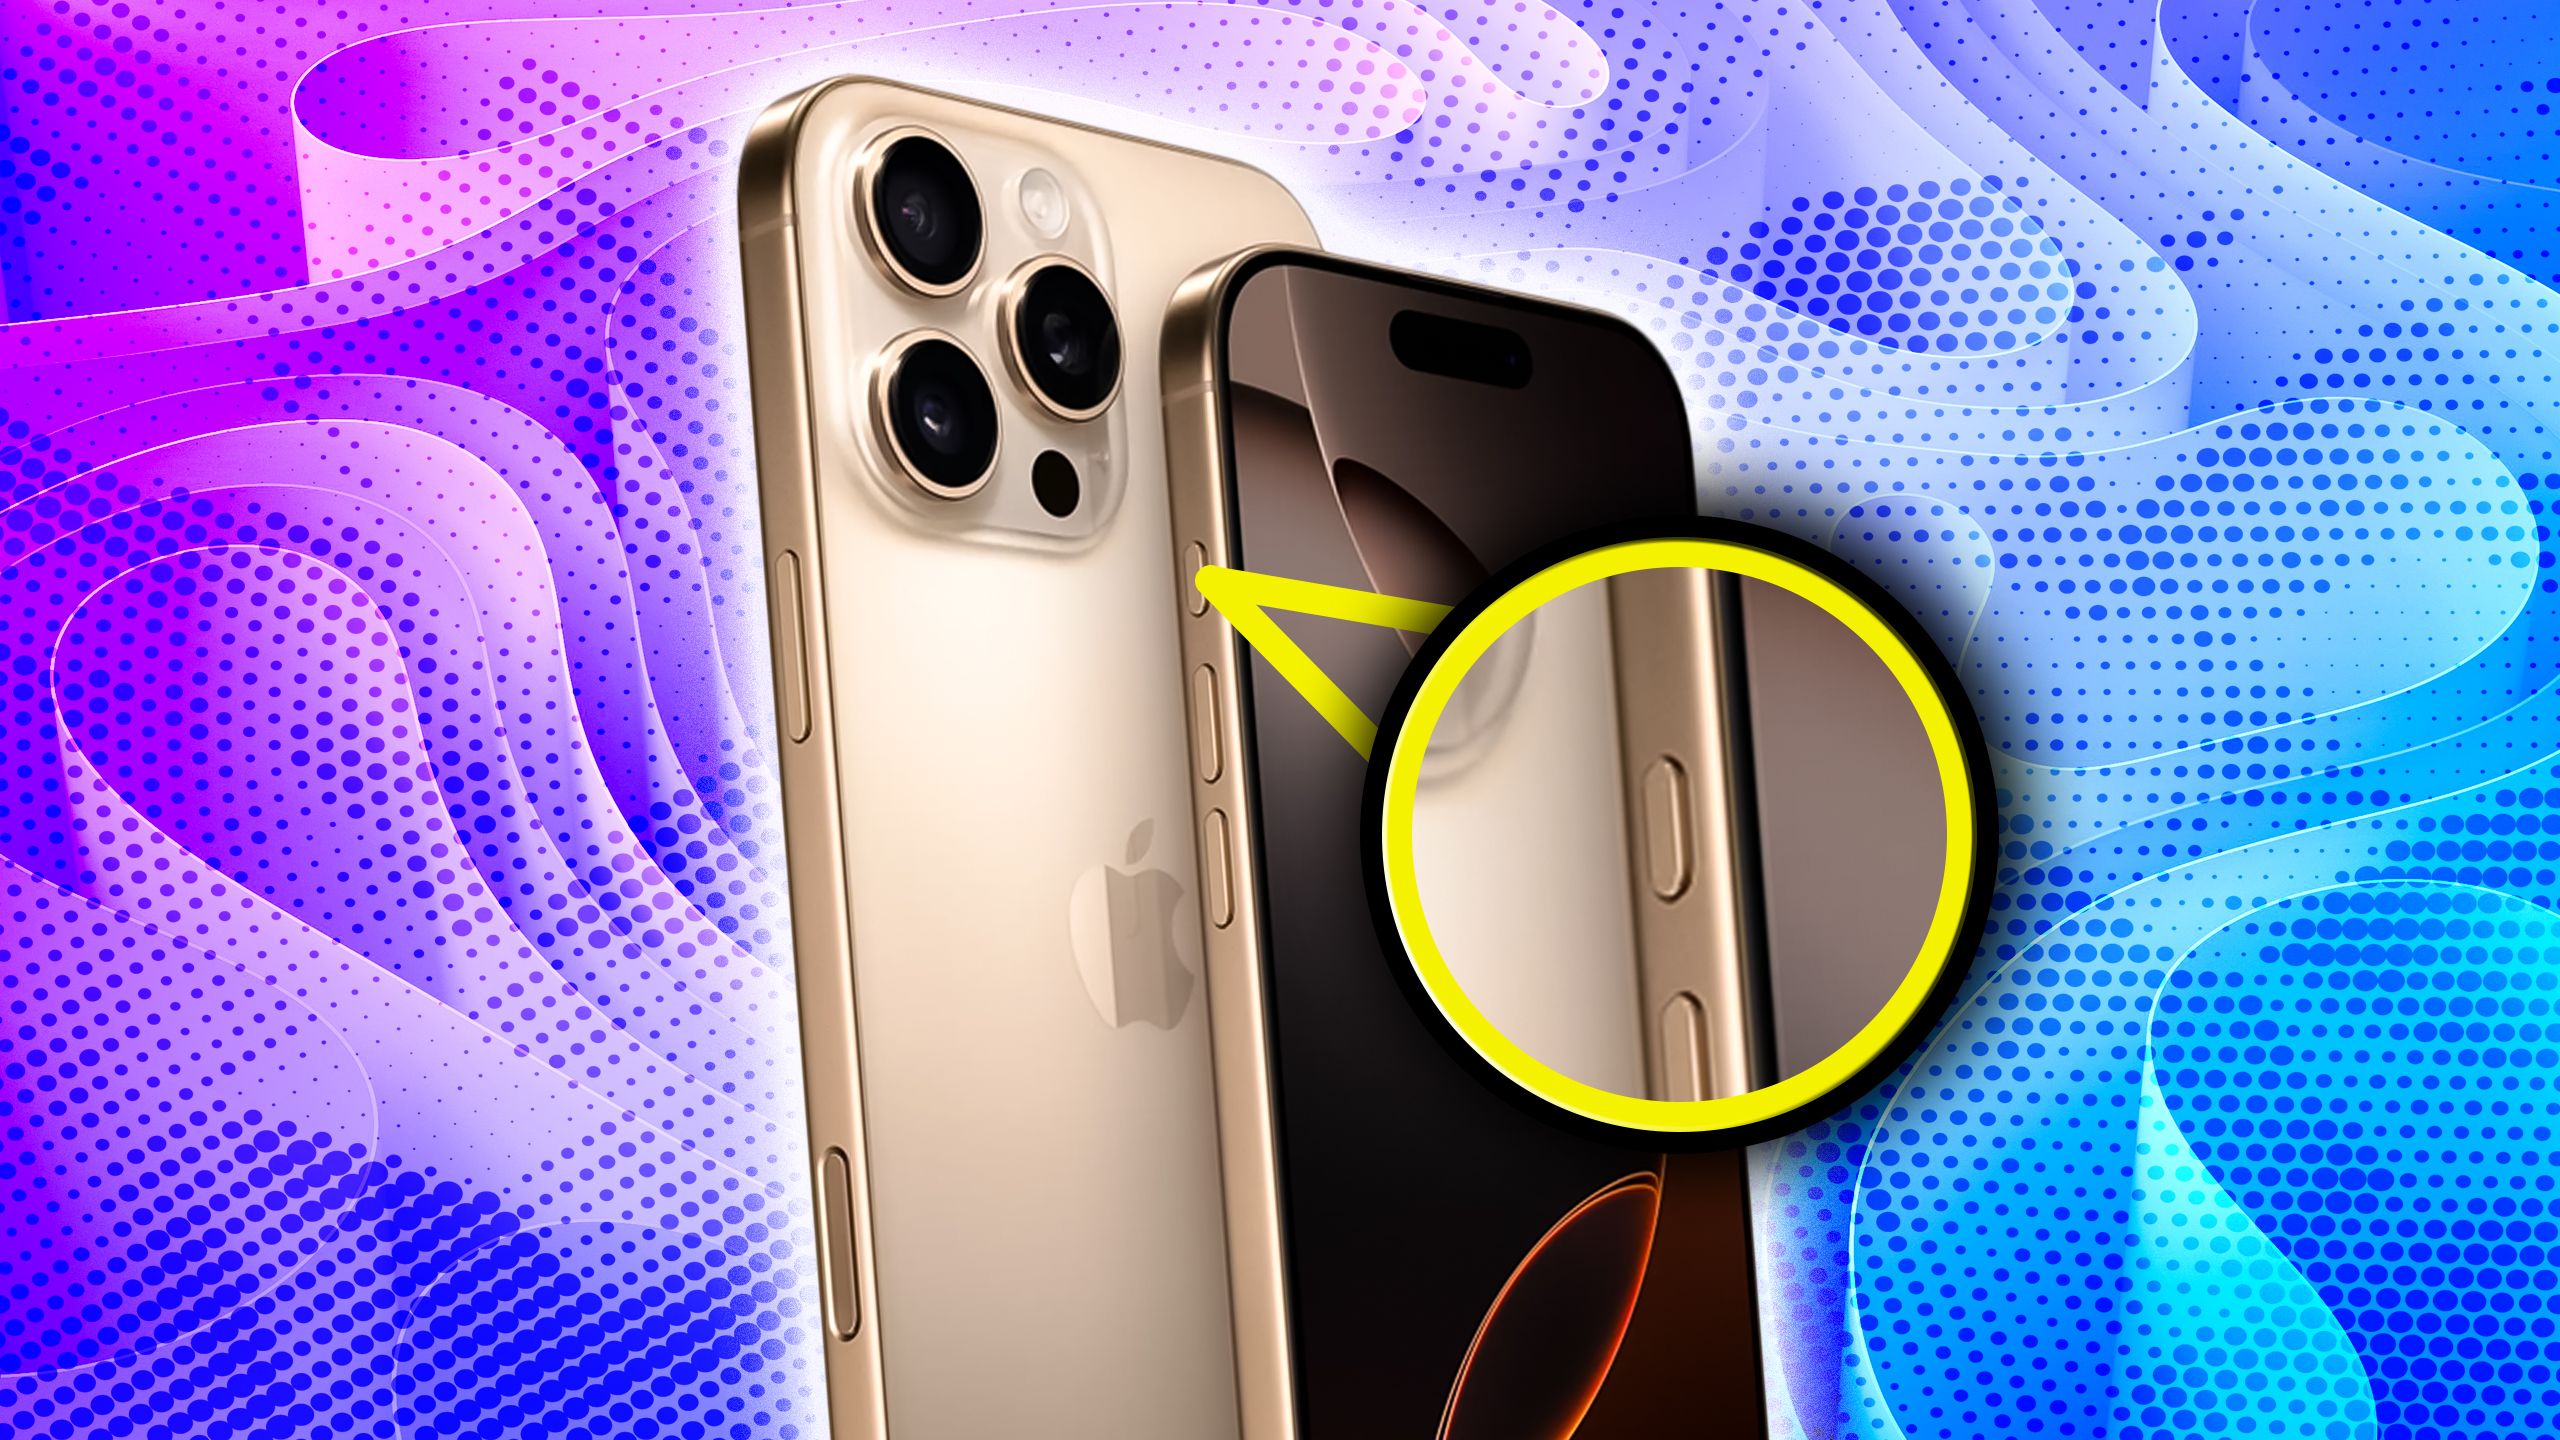
HEIC is an acronym for High Efficiency Image Container, and it’s been Apple’s default file format since iOS 11. What makes it different from traditional JPEGs is how it compresses — HEICs take up less storage, retain better image quality, and can support multiple images in one file. That’s how we get the Harry Potter-esque Live Photo feature everyone loves so much.
The bottom line is that Apple defaults to the HEIC file format to save space on your device and preserve image quality.
So what’s the big issue? Unfortunately, as versatile as HEIC files are, they aren’t as universally supported or compatible as JPEGs. If you’re a photographer or anyone who uploads and edits images, you know exactly the pain I’m describing. As soon as you get out of the Apple walled garden and into some trusty third-party apps, almost all digital bouncers are prone to stopping .HEIC files at the door. So, what’s the best way to convert them?
Related
My iPhone 16 Pro felt wrong, then I tweaked these 7 settings
Call me dramatic, but my iPhone 16 Pro didn’t feel like mine until I did this.
How to convert HEIC to JPEG on macOS
It’s a hoop to jump through
Yeah, it’s annoying, but there’s a super simple fix right there on your MacBook. To convert an HEIC file to a JPEG:
- Open the HEIC file in Preview.
- Click File > Export.
- Choose JPEG from the format drop-down.
- Select your quality, and hit save.
In downloads, a new version of your image ending in .JPEG should populate. However, there is a way to avoid this process entirely — but it’ll cost you.
Related
5 unexpected things I wish I knew before upgrading to the iPhone 16 Pro
I traded in my iPhone 12 Pro and walked into a tech identity crisis.
How to make your iPhone save photos as JPEG by default
It’ll cost you storage, though
Sometimes, storage isn’t an issue for some users. If seeing .HEIC upload is truly the bane of your existence, it could be worth upgrading your storage plan or at least cleaning out your camera roll if you choose this option.
JPEGs take up much more space than the typical HEIC file, so you’ll run into the “Storage Full” message much sooner.
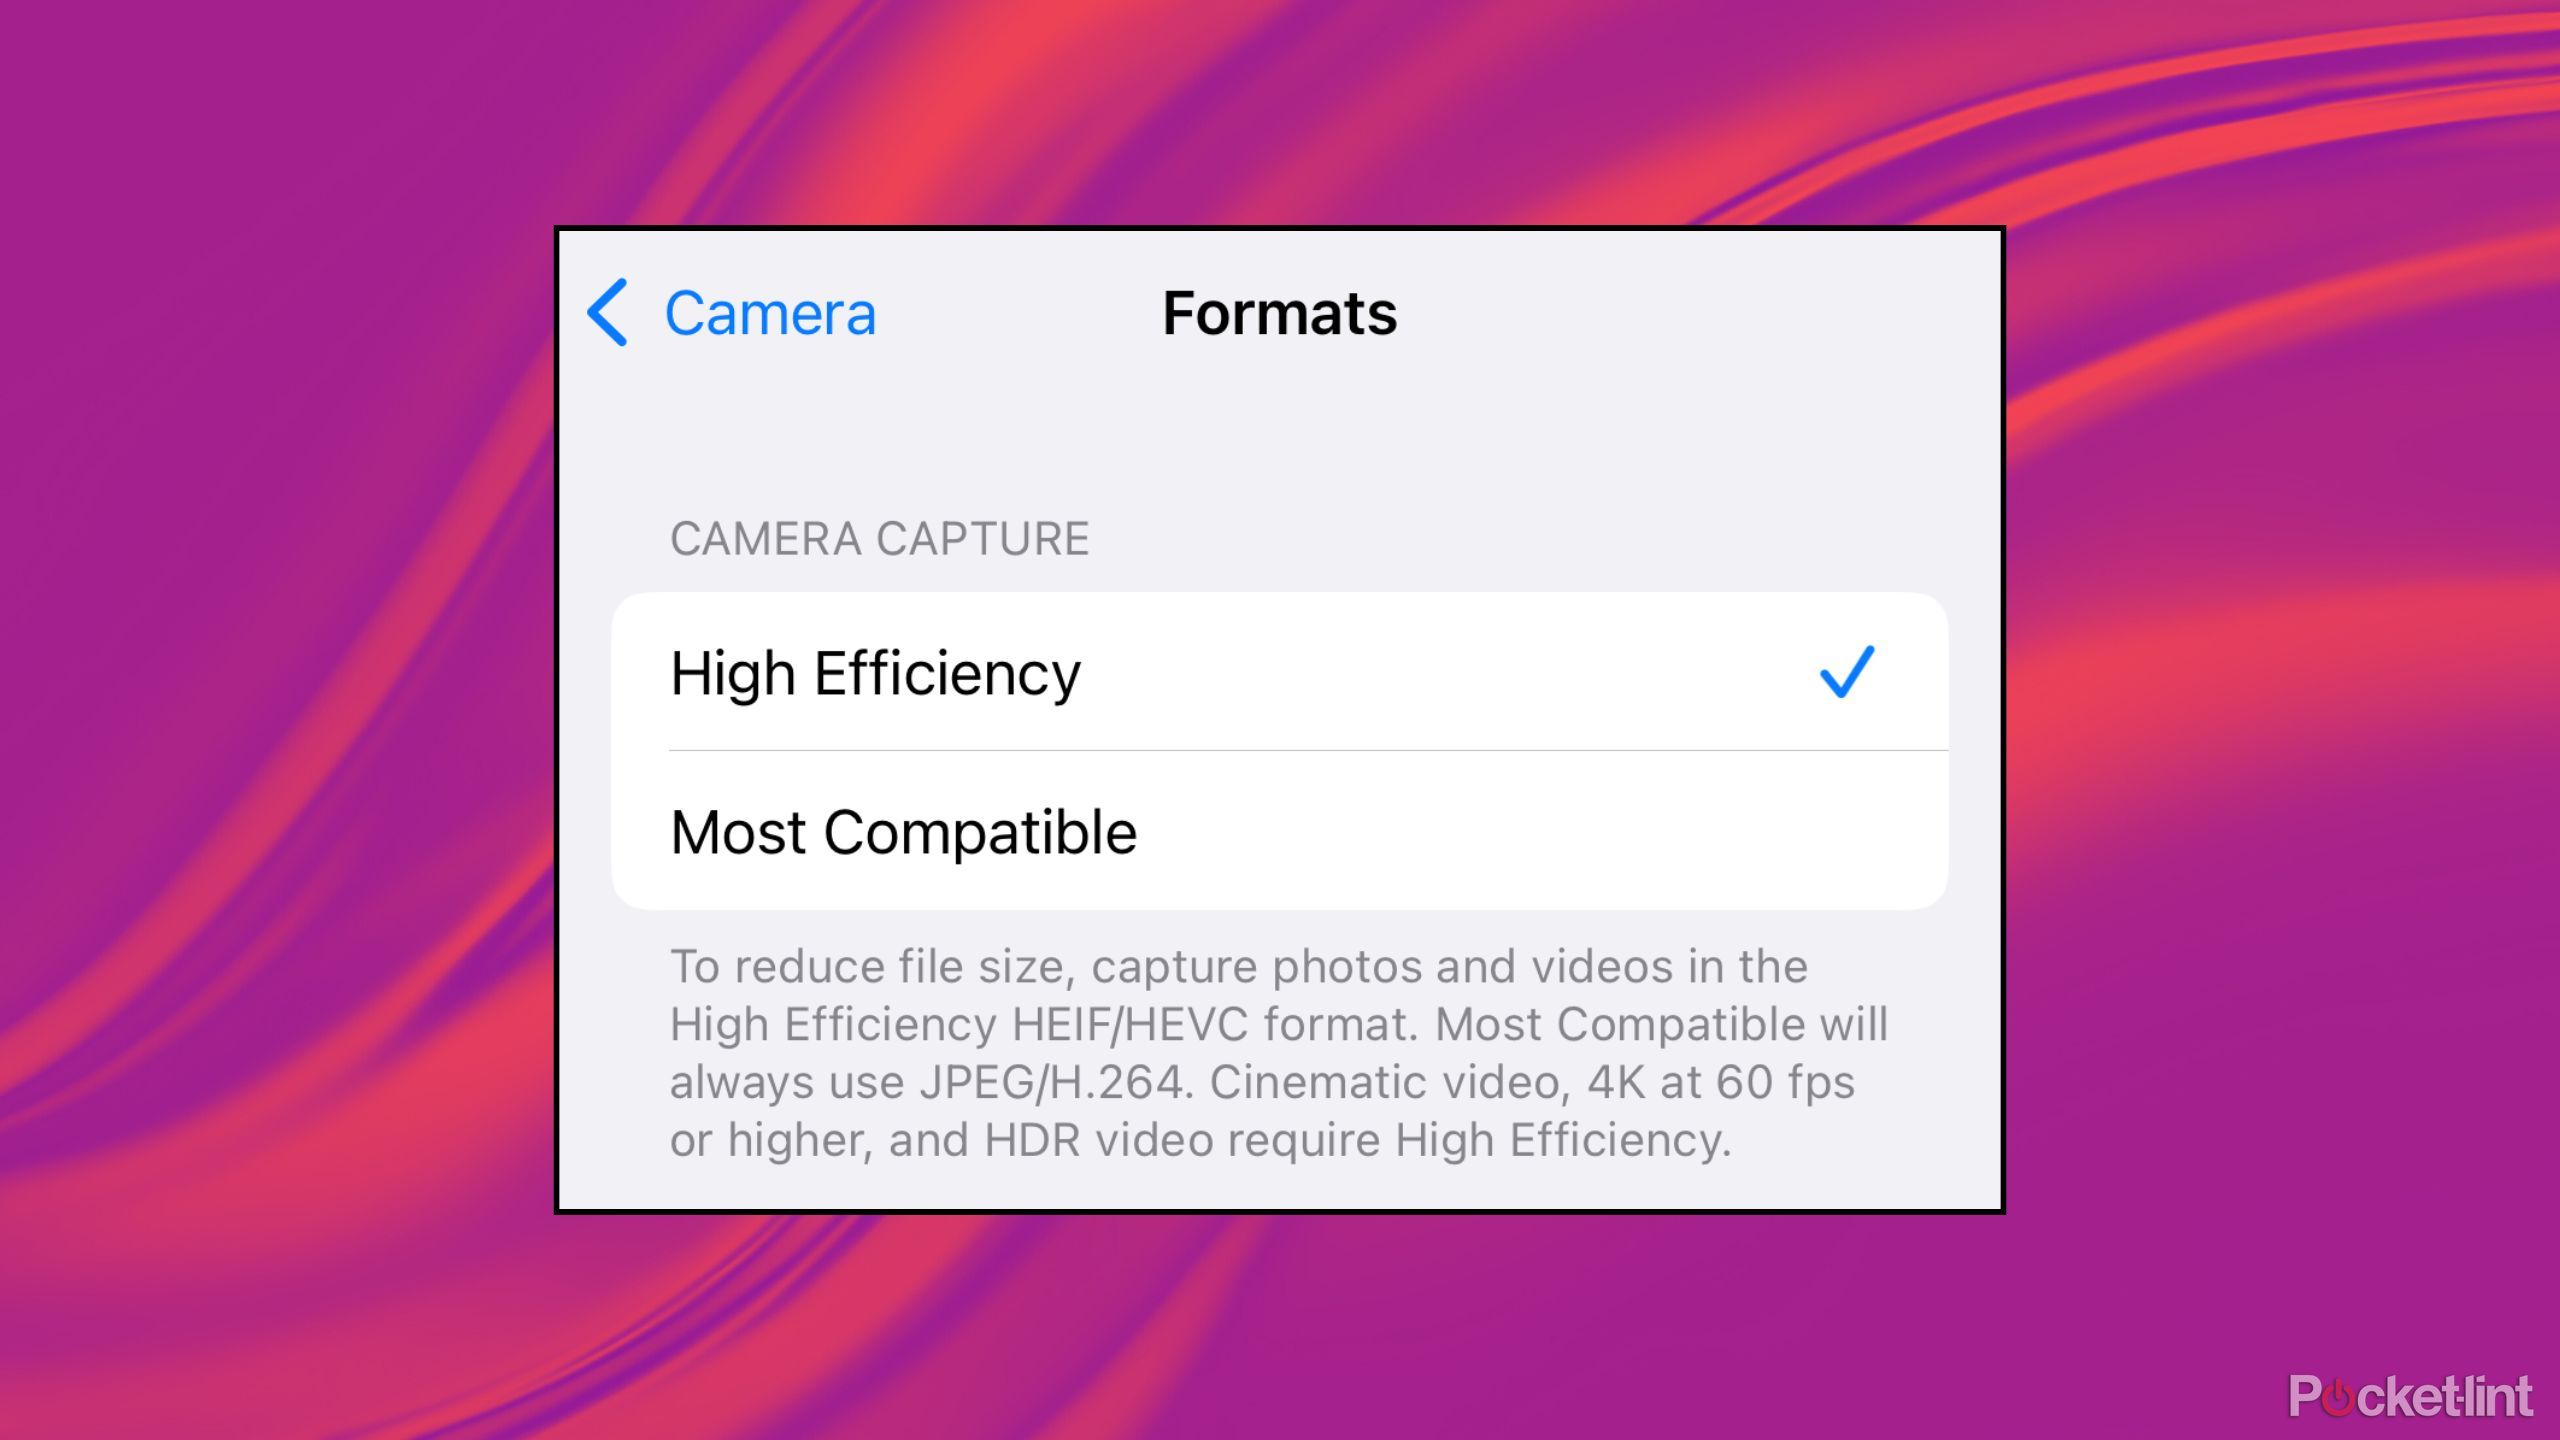
Here’s how to tweak your iPhone’s settings to save all captured photos as JPEGs rather than HEIC files:
- Open Settings.
- Select Camera.
- Scroll until you see Formats. Select it.
- At the top, you will see the Camera Capture section. Choosing High Efficiency will cause the photo-default to remain HEIC. Select “Most Compatible” to have photos always save in JPEG format.
And there you have it — high-quality images at a high-quality storage price. Happy snapping.
Related
I tested these 3 retro camera apps and created my own photo time machine
Light leaks and blurred edges will have my heart forever.
Other ways to convert
If you like to be creative
I didn’t say I was a Canva Queen for nothing earlier. As a freelance social media manager, I use various tools every day that require specific file formats, dimensions for auto-posting, and photo editor tools that are fully incorporated into my workflow, so sometimes, it’s really just easier to stick with what you use every day.
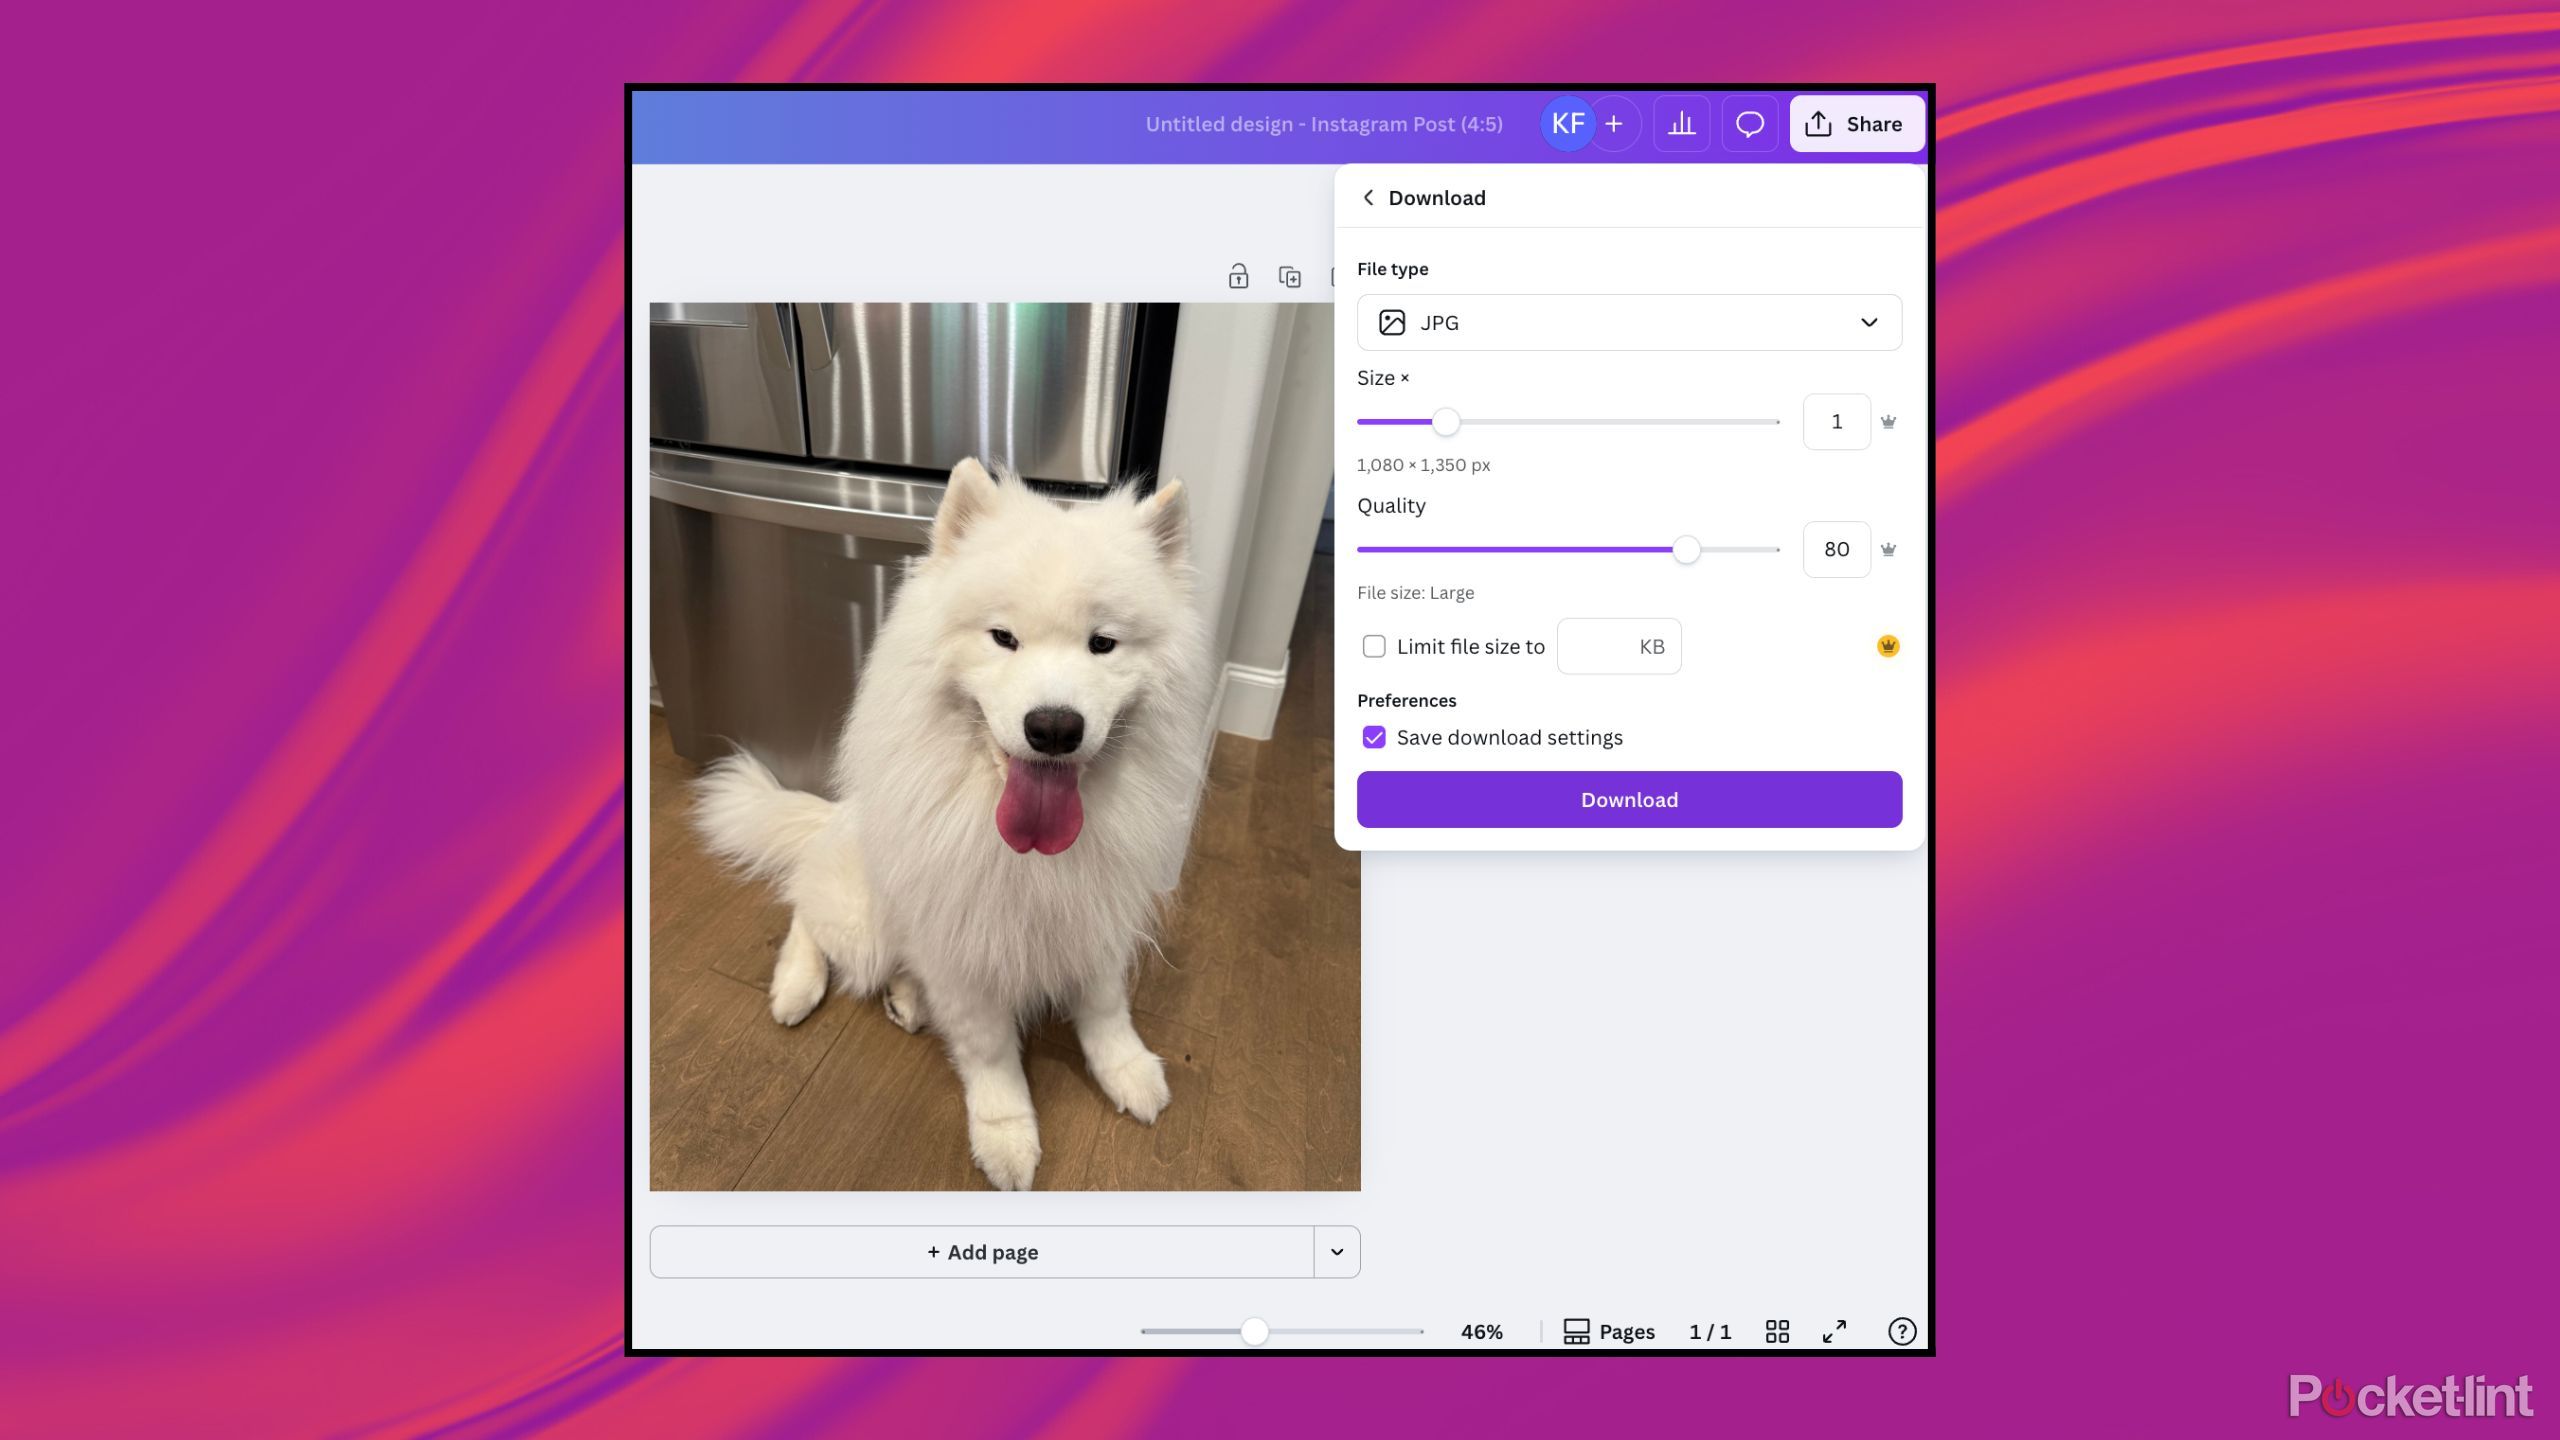
When I grab HEIC files from clients, I immediately upload them into Canva. There, I drag and drop them into a 4:5 1080×1350 document, one of the sizes that Instagram and third-party scheduling apps require for auto-posting purposes. In Canva, I do basic editing and file conversions, but that’s just me.
I’ll be in Canva if you need me.
There are also many other file converters out there if you’re anti-easy-graphic-design-for-everyone tools. I, however, am a sucker for a user-friendly interface and highly accessible elements. I’ll be in Canva if you need me.
Related
Pinterest: the one social media app I can relax on
If a soft conversation or inspirational speech was an app, it’d be Pinterest.


