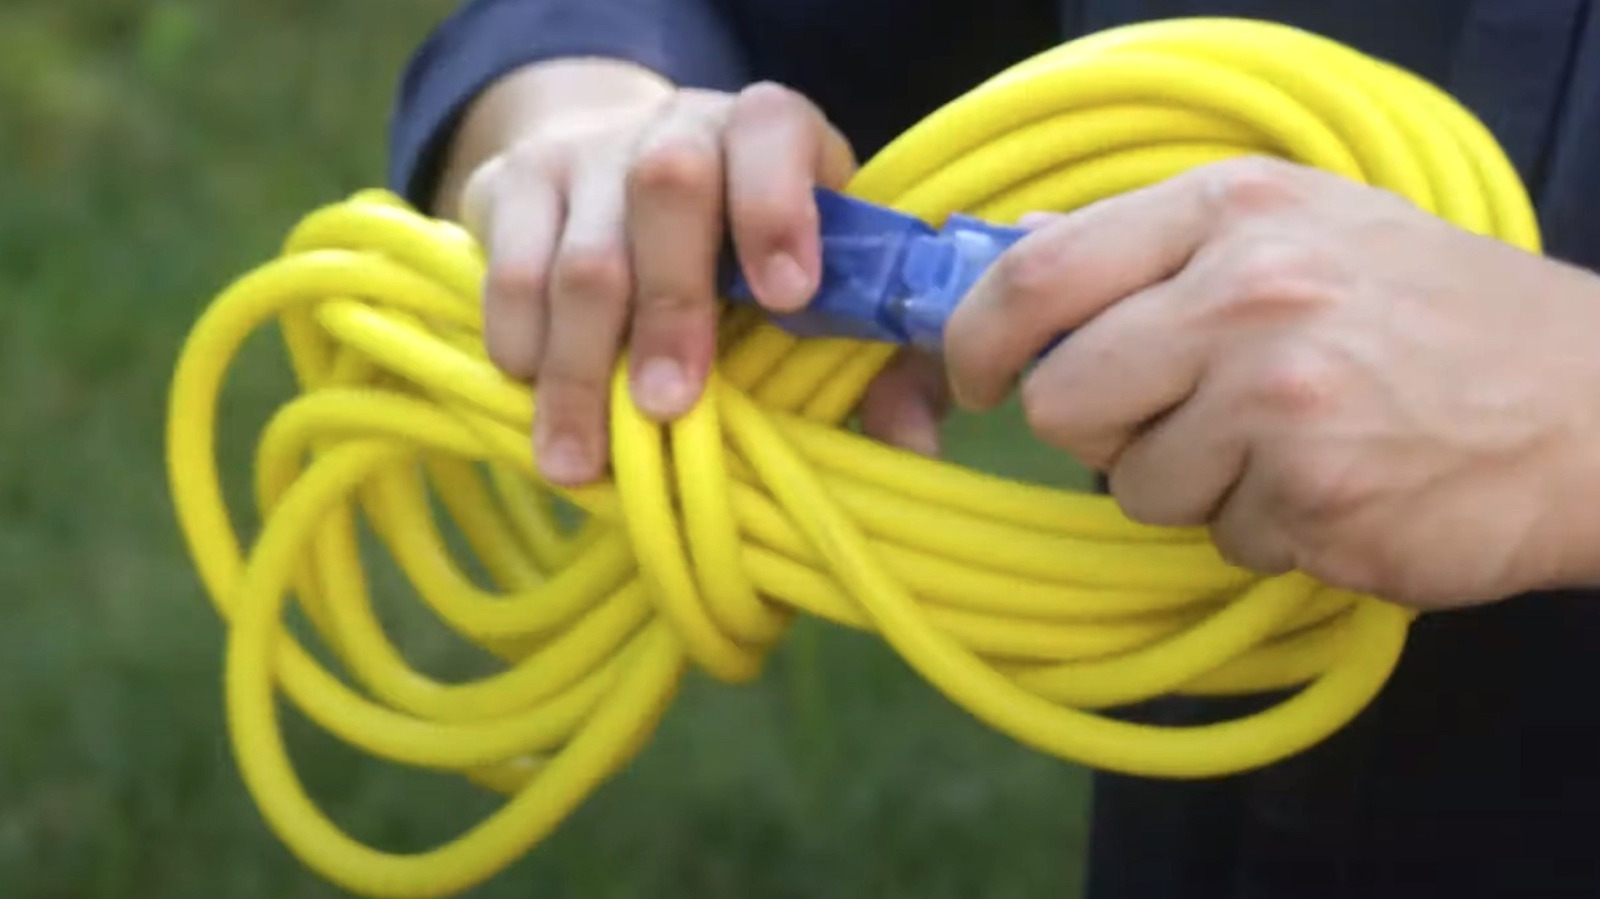
Having the correct extension cord on hand is vital whenever you need power but find yourself too far from the nearest electrical outlet. But even as valuable as an extension cord can be to safely power everything from a television to power tools and even some high-tech camping gear, they can be frustrating if not properly wrapped for storage. Failure to do so will, invariably, leave them tied up in knots that require untangling for before their next use.
Advertisement
Untangling an improperly stored extension cord is not only frustrating, but can also be time-consuming. It’s all the more annoying as tangled cords are easy to avoid when you use proper methods to wrap them for storage. While there are several methods for properly wrapping an extension cord, we the over-the-elbow approach is preferable to many, as it’s easy to learn and effective in avoiding tangles. Follow these steps to elbow wrap an extension cord.
- Take one end of the cord in your hand.
- Hold your arm out, folded up at the elbow at a 90-degree angle.
- Wrap the slack cord around your elbow, securing it at every pass with the crook of your thumb and pointer finger.
- With a few inches left, begin wrapping the leftover cord around the looped cord.
- When that wrap is tight, secure it in place by plugging the male and female plug connectors together.
Your extension cord is now wrapped for storage. And yes, it should be tangle free the next time you need it.
Other methods for wrapping extension cords
The Elbow Wrap is far from the only effective way to wrap an extension cord. However, some of the other methods — including The Braid and The Over-Under Wrap — require a little more effort from users. Here’s a look at how to achieve both wraps, starting with The Braid.
Advertisement
- Plug the male and female connectors together.
- Make a loop at the other end of the cord.
- Secure both sides of the doubled-over cord in one hand about 8-inches from the looped end.
- With your other hand, reach through the loop and pull both sides of the cord back through simultaneously.
- Continue pulling cord through every new loop you create, keeping hold of the base loop each time to ensure the braid is secure.
At the last braid, secure the chain by pulling the connected plugs through backwards, then pull the plugs in reverse to tighten. Pull the braid to loosen for use.
Follow these steps if you prefer The Over-Under method.
- With the ends of the cord unplugged, lay it flat on the ground or on a table.
- With one end in hand, make a circle by looping the cord back and securing the overlap by hand.
- Make another loop with the loose end of the cord, this time doing so via an underhand method.
- Repeat the looping process, switching between the overhand and underhand method with each pass.
At the end of the cord, plug the connectors together. Then secure your loop via string or cord tie of your choosing. Remove the tie and throw the cord holding one end when you’re ready to use.


:max_bytes(150000):strip_icc():format(jpeg)/TAL-konro-west-palm-beach-florida-FLMICHSTARS0425-183c0ce6b3f744baa8d97aa00306a606.jpg?w=150&resize=150,150&ssl=1)


